
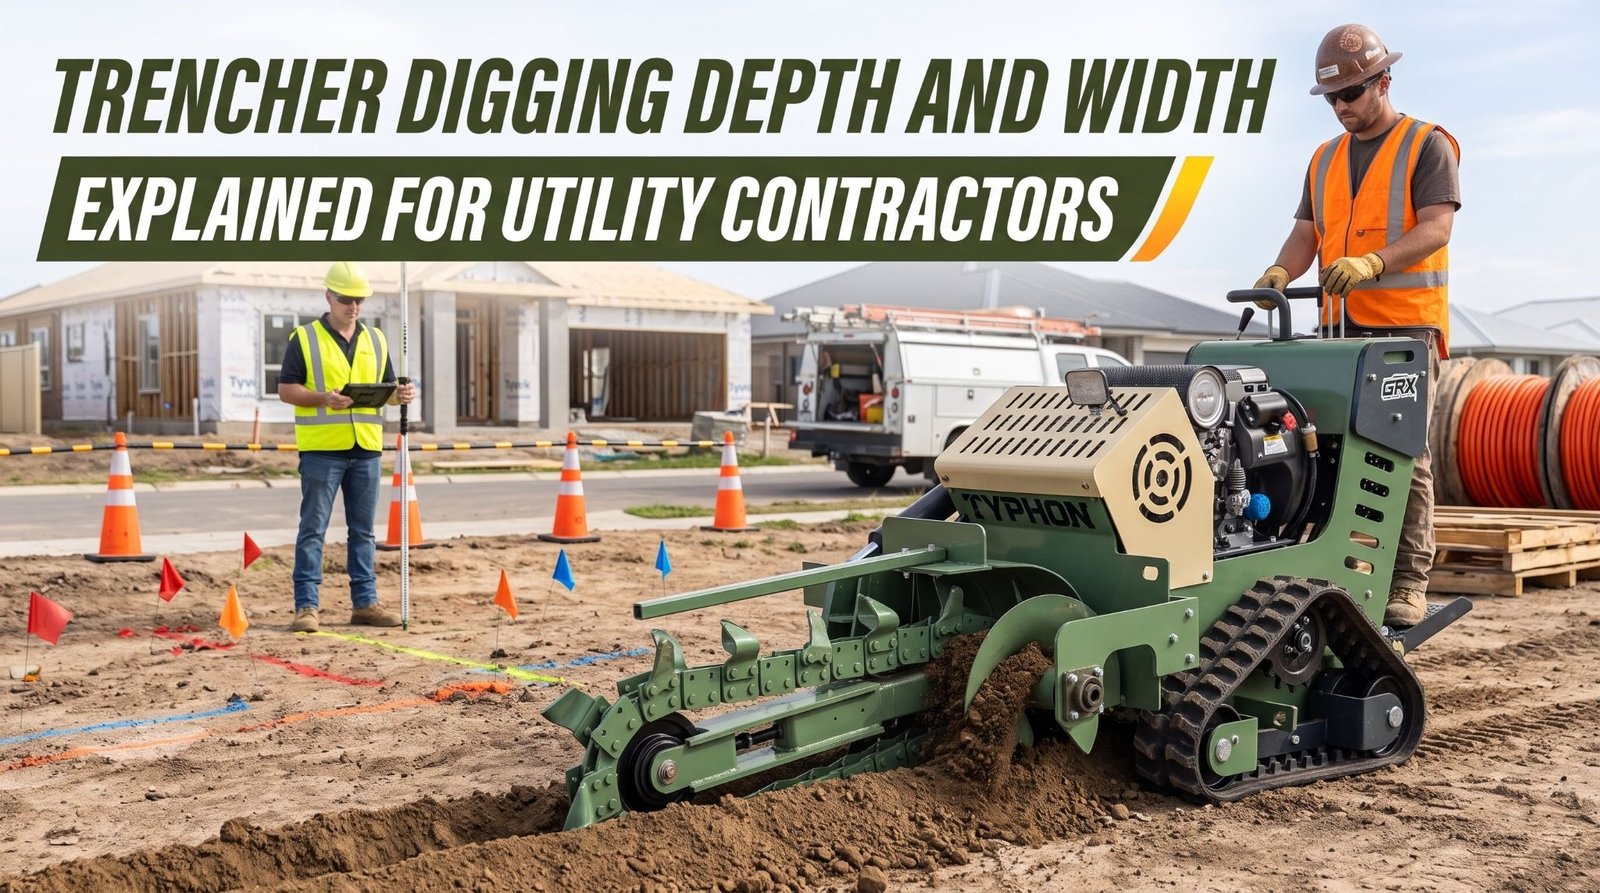
Trencher Digging Depth and Width Explained for Utility Contractors
A trencher can cut hundreds of feet of clean, narrow trench in a single shift. When the trench matches the job, crews lay pipe or conduit quickly, bedding goes in evenly, and backfill finishes on schedule. When the equipment does not match the project requirements, delays, additional expenses, and unnecessary wear can quickly become problems. A trenching machine may lack the digging depth needed for the required installation, while a narrow cutting chain may not provide enough trench width for the planned utilities. Similarly, using equipment designed for softer soil in rocky or heavily compacted ground can accelerate cutting component wear and reduce productivity. These challenges often result from selecting machinery without properly evaluating the site’s conditions, trench dimensions, soil characteristics, and installation requirements.
Digging depth and cutting width are the primary specifications that determine a trencher’s excavation capabilities. Depth determines how far the machine can dig to accommodate the required utility cover and bedding material. Width determines whether pipes, cables, or conduits can fit within the trench while meeting the required clearance, spacing, and installation specifications. Both dimensions depend on factors such as soil conditions, chain and tooth configuration, machine capacity, and applicable excavation safety requirements.
Selecting suitable trenching equipment requires understanding how these specifications relate to actual project conditions. Other considerations include chain configuration, underground utility locations, trench protection, and expected production demands. Equipment selection and operation should always follow the manufacturer’s instructions, project requirements, utility installation specifications, local building codes, and applicable safety regulations. These references help ensure the machine is suitable for the work and that excavation activities are carried out safely and efficiently.
Understand Published Maximum Digging Depth
Maximum digging depth is the deepest trench a machine is designed to cut under the conditions the manufacturer specifies. It’s a useful starting point for comparing machines, but it isn’t a promise that every site can be trenched to that depth efficiently, or that the trench floor will be clean and consistent at full depth. On a chain trencher, depth comes from the digging boom. The longer the boom, the deeper it can cut, and most machines are available with several boom lengths, each with its own depth rating. Depth is typically measured with the boom at its steepest operating angle, but many operators run a shallower angle for smoother cutting and better floor cleanup, which reduces the depth actually achieved.
Several conditions can reduce actual trenching depth compared with a machine’s rated capability. Compacted clay, caliche, rock, and frozen ground can slow cutting or prevent the trencher from reaching its full depth. Worn teeth, stretched chains, and inadequate machine power can also reduce cutting performance, particularly in difficult soil. Loose material falling back into the trench may raise the bottom and require additional cleanup.
Calculate the complete required trench depth by accounting for the specified cover above the pipe, the pipe’s outside diameter, and the bedding material beneath it. Select a trencher with sufficient depth capacity and additional margin for soil variations, wear, and operating conditions. Hard or inconsistent ground may require greater capacity or a different machine configuration. A trencher that cannot reach the required depth under actual jobsite conditions is not suitable, even if its rated depth appears close to the project requirement.
Match Chain and Tooth Configuration to Ground Conditions
The digging chain and its teeth do the cutting. Matching them to the soil has a direct effect on production speed, trench quality, wear costs, and machine load. Cup or shovel teeth suit loose soil, sand, and loam, scooping and carrying material out efficiently. Shark or chisel teeth concentrate force for compacted soil, hard clay, gravel, and frozen ground. Carbide-tipped rock teeth resist abrasion and impact in rock, caliche, and heavily compacted fill. Combination chains alternate cutting and cleaning teeth for mixed or variable conditions. Follow the manufacturer’s recommendations for the specific soil and machine.
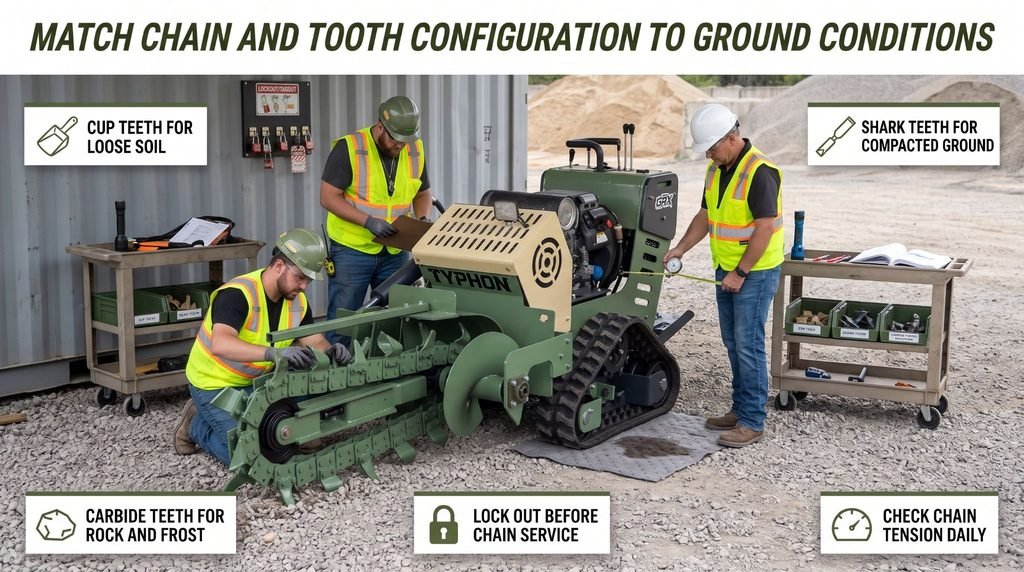
Production depends on the balance between chain speed and ground travel speed. In hard soil, slowing the travel speed lets the chain keep cutting without stalling. Running too fast overloads the chain and engine, while running too slow wastes time. Watch engine speed and chain load, and adjust travel to keep both steady. Before each shift, inspect teeth for wear and missing carbide tips, check the chain for stretched links and worn pins, measure chain sag according to the manufacturer’s procedure, and confirm the crumber shoe is adjusted to clean the trench floor.
Inspect hydraulic hoses, fittings, and couplers for abrasion, cracks, and leaks. Never use your hand to search for a hydraulic leak. Fluid escaping through a pinhole under pressure can penetrate skin and cause an injection injury that is a medical emergency requiring immediate surgical treatment. Use a piece of cardboard or wood to locate leaks, wear gloves and eye protection, and keep your face out of line with the suspected leak. If anyone is struck by escaping hydraulic fluid, get emergency medical care at once and tell medical staff it is a hydraulic injection injury.
Before replacing teeth, adjusting tension, or clearing debris, park on firm, level ground, lower the boom fully, disengage the chain drive, shut down the engine, remove the key, and apply your personal lock and tag. Relieve hydraulic pressure and verify isolation. Never step over, reach across, or stand near a running chain, and never clear roots or rocks from the chain by hand while the engine runs.
Key takeaway: Match tooth type to the soil, balance chain speed with travel speed, inspect the cutting system every shift, check hydraulic leaks with cardboard rather than your hands, and lock out before any chain or tooth service.
Select Trench Width for Utility Installation
Width determines whether the utility fits properly in the trench. A trench that’s too narrow makes installation difficult, damages pipe and cable jackets, and prevents proper bedding. A trench that’s too wide adds excavation, spoil, and backfill volume, increasing time and cost. The right width comes from the project specification, not from what the machine happens to cut.
Several factors set the minimum trench width: the pipe, conduit, or cable outside diameter; the number of lines placed and required spacing between them; bedding and haunching requirements along the sides; the installation method; and any utility owner or code requirements for separation between services. For a crew placing two 2-inch PVC conduits side by side, the calculation starts with the two outside diameters, adds the required spacing between them, then adds side clearance at each wall. That total sets the minimum chain width. A 6-inch chain would require stacking the conduits vertically, which changes depth requirements and may not meet the specification. Avoid the temptation to widen the trench beyond the specification. Doubling trench width roughly doubles excavation volume, spoil, bedding material, and backfill time, and places more load on the machine.
Key takeaway: Determine trench width from the utility’s outside diameter, number of lines, spacing, bedding, side clearance, and installation method, then select the narrowest chain width that meets the project specification.
Account for Utility Depth and Existing Services
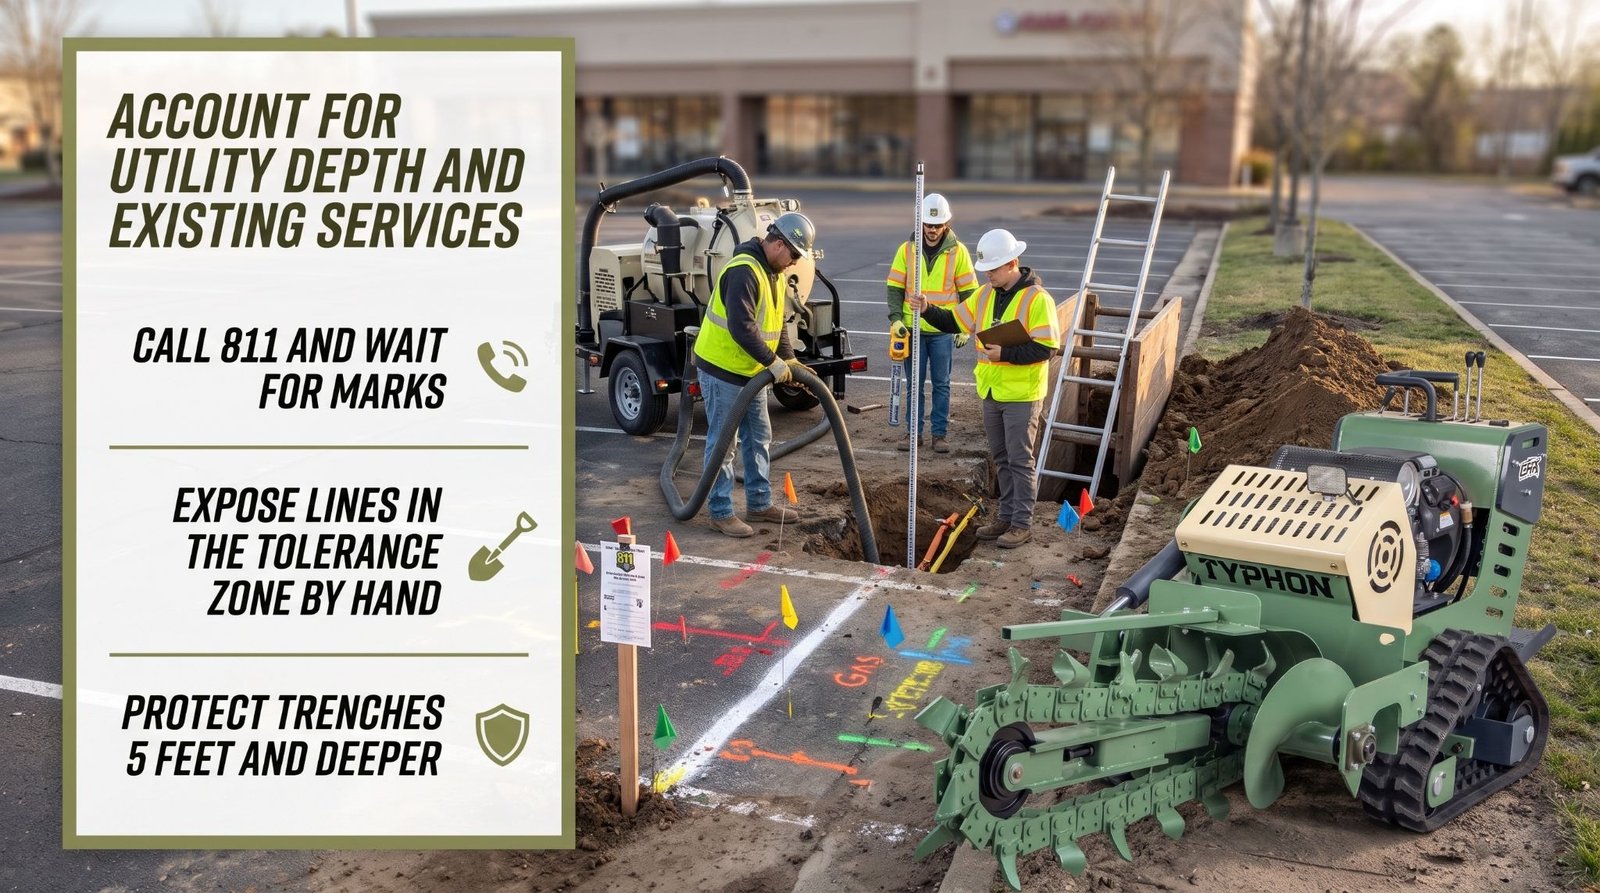
Every utility installation has specific depth requirements, and jobsites may contain existing underground services that must be identified and protected before excavation begins. Required cover depends on the utility type, local regulations, utility owner specifications, environmental conditions, and project requirements. Water lines, electrical conduits, irrigation systems, and communication cables may all require different installation depths. Cover is generally measured from the finished ground surface to the top of the installed utility. The total trench depth must also account for the utility’s outside dimensions and any required bedding material beneath it. Always confirm the actual excavation dimensions through project drawings and applicable installation standards.
Before excavation begins, identify existing underground utilities through the appropriate locating service or local authorities. Allow sufficient time for utility marking and follow the required notification procedures. Markings generally indicate approximate utility locations rather than exact positions or depths. Areas surrounding marked lines may have designated tolerance zones where mechanical excavation is restricted. Within these areas, use approved careful excavation methods to expose and confirm the actual utility location before proceeding. Keep trenching equipment away from exposed services and follow the utility owner’s clearance requirements. Private underground systems, including irrigation lines, property electrical feeds, drainage systems, and other privately owned services, may require separate locating services or property records to identify.
If the trencher contacts an underground utility, stop work immediately and keep personnel away from the affected area. Shut down the equipment when it is safe to do so, avoid disturbing the damaged line, and contact the appropriate utility owner or emergency services. If a gas leak is suspected, evacuate the area, avoid ignition sources, and contact emergency services from a safe location. Resume excavation only after the situation has been assessed and the area has been declared safe.
Key takeaway: Confirm required cover and separation from codes and project drawings, call 811 and wait for marks before trenching, expose lines by hand or vacuum within the tolerance zone, locate private lines separately, and stop immediately after any line strike.
Evaluate Production and Material Removal
Trench dimensions directly affect excavation volume, production rates, spoil handling, and the power required from the machine. Excavation volume is calculated by multiplying trench width by depth and length, using consistent units throughout the calculation. Wider or deeper trenches require more material to be removed, increasing the machine’s workload and the time needed to complete the excavation.
Excavated soil generally expands after being loosened, and the amount of expansion depends on the soil composition and ground conditions. Different materials, including clay, sand, and rock, can produce different spoil volumes after excavation. Pipe, conduit, and bedding materials also occupy space within the trench, meaning some excavated soil may not fit back into the completed excavation. Excess material may therefore need to be removed from the jobsite. Proper planning for trench dimensions, soil conditions, spoil storage, and material disposal helps improve excavation efficiency and prevent unnecessary delays.
Production depends on soil resistance, trench size, chain and tooth condition, machine power, and operator technique. Run a short test section on the actual site to establish a realistic rate before finalizing the schedule. Larger trenches demand more power. For skid steer and compact track loader attachment trenchers, compare the attachment’s flow, pressure, case drain, and coupler requirements with the host machine’s specifications. Never adjust relief valve settings to force a mismatched attachment to work. Running an underpowered setup stalls the chain, overheats hydraulic oil, and accelerates wear.
Position spoil on the side away from traffic and keep it at least 2 feet from the trench edge, as OSHA requires. Plan backfill and compaction promptly, especially in traffic areas or where rain may soften open trenches. A trencher that cuts quickly is only productive if installation, inspection, and backfill keep pace.
Key takeaway: Calculate excavation volume from width, depth, and length, add swell and displacement to plan spoil handling, run a test section for realistic production rates, match engine or hydraulic capacity to trench dimensions and soil, and keep spoil at least 2 feet from the trench edge.
Conclusion
Trencher digging depth and width define the trench every utility installation depends on. Published maximum depth reflects specified conditions, so crews should calculate the full required depth, including cover, pipe diameter, and bedding, and select a machine with margin. Trench width should come from pipe or cable diameter, the number of lines, spacing, and bedding requirements, not from the machine’s capability alone. Chain and tooth configuration must match the soil, and the cutting system needs daily inspection, cardboard leak checks, and full lockout before service. Trench walls require competent person inspections and protective systems at 5 feet, and every trench depends on accurate locating and careful work within the tolerance zone.
Frequently Asked Questions
Is a trencher’s maximum digging depth its normal working depth?
Not necessarily. Maximum digging depth is measured under the manufacturer’s specified conditions, usually with the boom at its steepest angle. Practical depth can be lower due to soil hardness, boom angle, chain wear, and spoil falling back into the trench. Calculate the full required depth, including cover, pipe diameter, and bedding, and choose a machine with roughly 6 to 12 inches or more of margin.
How do contractors select trench width?
Start with the outside diameter of the pipe, conduit, or cable. Add spacing between multiple lines, side clearance, and bedding requirements from the project specification and utility owner standards. Consider the installation method and any room needed for compaction tools. Then select the narrowest chain width that meets those requirements, since wider trenches increase excavation, spoil, and backfill volume.
Does soil type affect trencher performance?
Yes. Loose soil and loam cut easily with cup teeth, while compacted clay, gravel, and frozen ground need shark or chisel teeth. Rock and caliche typically require carbide-tipped teeth, slower travel speeds, and more power. Soil type also affects wall stability, swell factor, and production rate. Match tooth type to the soil, and run a test section to confirm realistic production.
What should be checked before trenching?
Confirm required trench depth, width, bedding, and separation from project drawings and codes. Call 811 and wait for utility marks, locate private lines separately, and expose marked lines by hand or vacuum within the tolerance zone. Inspect the chain, teeth, tension, sprockets, and hydraulic hoses, using cardboard rather than your hands for leak checks. Have a competent person evaluate soil and plan protective systems for trenches 5 feet deep or more, with egress at 4 feet.